

Planting a tree can be such a fun and productive activity to do with your family or friends. It’s also highly beneficial for people and the environment. However, it’s more than just sticking a plant into the soil and hoping for the best.
Before doing anything, it’s important to know the basics so your tree has a better chance at surviving and flourishing. Here are a few beginner tips on planting trees:
What to Prepare
Here’s what you need beforehand:
- Time
Set aside some time to gather all the necessary supplies. You may need 2 to 4 hours to prepare your tree-planting materials. It will also take about 2 to 4 hours to plant your new tree.
- Materials
You will require specific tools and resources to plant a tree. Some of these might already be available in your home, but you may have to rent or purchase what you don’t have. Talk with your local volunteer centre to see if you can borrow from a community tool chest. You can also contact your local park authority if they have said items.
Here are what you will need for planting:
- Gloves
- Hammer or mallet
- Hand trowels
- Round-head shovels
- Scissors
- Soil
- Tree shelter tubes
- Utility knife for cutting containers
- Water source, bucket or hose
- Wheelbarrow
- Wood chip mulch
- Wooden stakes
- Planting Area
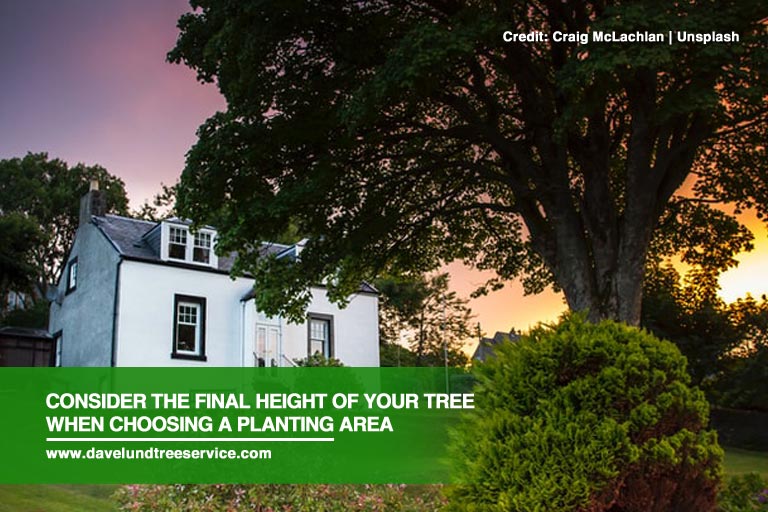
The entire area you’ll need will depend on how many trees you’re planting. Keep in mind that each tree needs a certain amount of space, which is determined by its species and the height it will grow to at maturity. You don’t have to transplant them if you plant them 6 to 8 feet apart. If future transplanting is feasible, you can plant seedlings closer together.
Clear heavy brush and grass along with their roots from your planting spots to make sure that they don’t grow back. You only need to do this in the area where you’ll plant the tree. You might also have to pre-dig the holes or use an augur, digging bar, or pick if the soil is hard to dig.
Choosing Your Tree
What you have in mind may not be available locally or appropriate for your location, so talk to a professional for suggestions. Look for information regarding trees and their characteristics like size at maturity, amount of sun, and drainage needed. It lets you know if your chosen type will survive in your environment.
Choosing native trees that can provide food can be helpful for wildlife. Also, the larger the tree you pick, the more beneficial it can be to our planet over its lifespan.
- Type of Package
The trees provided by tree nurseries come in different packages: bare-root and container-grown or plugged seedlings.
- Bare-root – You can see the roots of the trees in this package. Keep them moist at all times and plant them within ten days. They are also available only for part of the year. Plant them when they’re dormant.
- Container-grown – Container-grown trees are grown in soil above ground in pots. Though their ideal planting climate is in the fall and early spring, you can plant these any time.
How to Plant
Your first tree may come in either bare-root or container-grown, and each requires different instructions. Learn how to plant each type with this planting tree guide:
- Bare-Root Tree
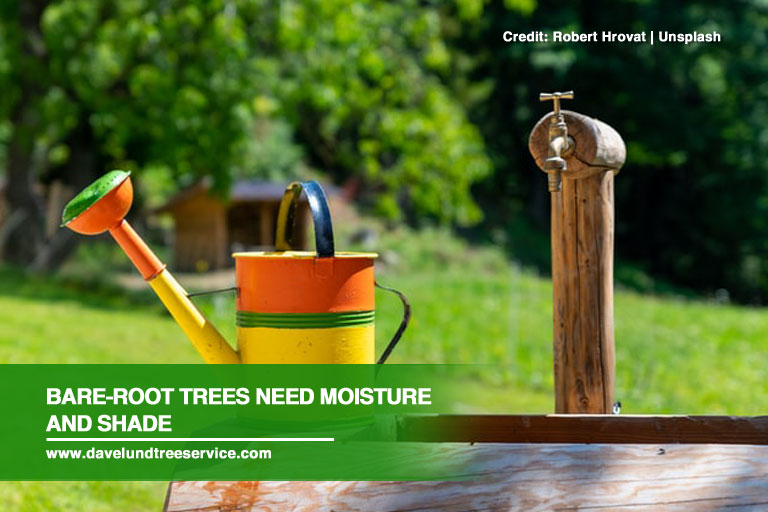
The best gardening tip to remember for bare-root trees is that they require moisture. Before planting one, keep its roots moist and in the shade.
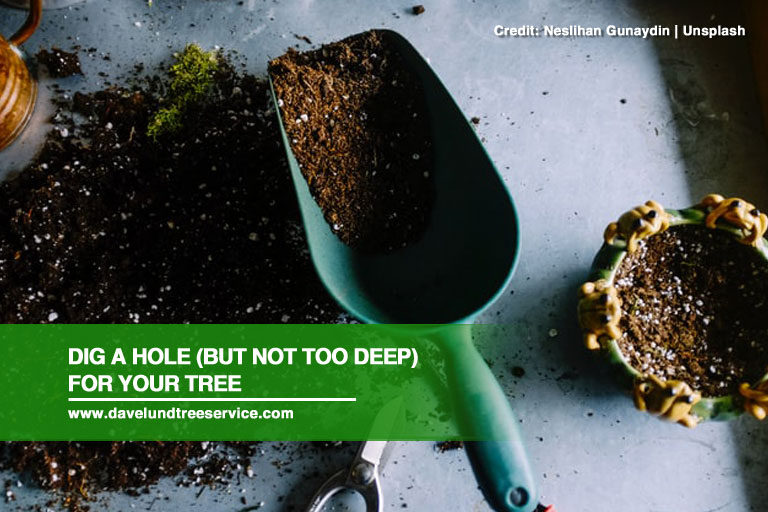
Use a shovel to dig a hole wide enough (but not too deep) for the roots to spread out without crowding each other. It should be about 6 to 12 inches wider than the roots. Create a cone-shaped mound of soil at the bottom and set your tree on it. Carefully spread its roots around it and see that its topmost root is just below the topsoil level. Don’t plant the tree too deep or it will die.
Hold your tree upright as you add layers of soil to the hole. Use your hands and gently press each layer down. Once it’s half full, settle the soil with water. Let it drain and check that the topmost root again. Pull it up slightly and rework the soil around its roots if it settled deeper. Press down more soil in layers and finish filling up the rest of the hole.
Use your hands to create a 3-inch-high donut-shaped mound around the roots’ edge with soil. With it, your tree will absorb all of the water.
- Container-Grown Tree
Use a shovel or hand trowel to dig a hole for your tree. Find its root flare, which is just above the topmost roots. Plant it at this height and no deeper. Dig a hole 2 to 3 times wider than the root ball’s diameter. Remove it carefully from its container and loosen its roots.
Set your tree straight in the centre of the planting area. Make sure that it’s not too deep before adding any soil. Put some backfill in the spot around the root ball and gently press down with your hands. Add soil to the rest of the hole and pour water to settle it. Let it drain.
Check on the topmost root’s position again. Pull it up slightly and rework the soil around the roots if it settled deeper.
Use your hands to make a 3-inch-high donut-shaped mound around the edge of the root ball with the leftover backfill. It will ensure that the water will go right to your tree’s roots.
After Planting

Now that you’ve planted your tree, it’s time to take care of it and help it grow properly. Here’s what you need:
- Water
About once a week, water your new tree just enough to keep its soil moist. Whenever you water it, it should get about 5 gallons of water for each inch of trunk diameter. Hold up a ruler to its trunk to determine the amount needed.
Check the moisture level by occasionally digging at least 3 inches into the soil. Don’t water your tree as often if the soil is too soggy. Also, as you water, avoid washing it away from its roots.
- Mulch
Made with wood chips, bark, and straw, among others, mulch is highly beneficial for trees. You can get it from your local home improvement or garden centre.
If your tree is larger than a seedling, put mulch in a circle 1 to 3 feet from the trunk and 2-3 inches deep around it. Then, pull it 2 to 3 inches away from the tree trunk. If it sits next to or right on the bark, it may cause the tree trunk to decay.
- Tree Shelters
You can also protect your seedlings with tree shelters. They are 2 to 5 feet tall tubes or wire cages that shield them from animals, drought, lawnmowers, trampling, weeds, and wind. However, they are recommended for deciduous trees only and don’t work as well in shaded conditions.
Install them by placing the cage or tube over your tree and put the wooden stake through the side loops on the tube. Pound it into the ground with a hammer and anchor the shelter. It should be deep enough that it keeps strong winds from blowing it down.
Planting your first tree requires lots of planning and preparation. It may also take some time and effort. Still, everything will be worth it, as you get to help mother nature with this activity.
Planting trees in Canada is an enjoyable experience to have. However, you might not feel the same way when it’s time to prune them. If you’re looking for reliable tree pruning services, look no further than Dave Lund Tree Service and Forestry Co Ltd. For inquiries, please contact us at (905) 884-0511 or email us at info@davelundtreeservice.com.