
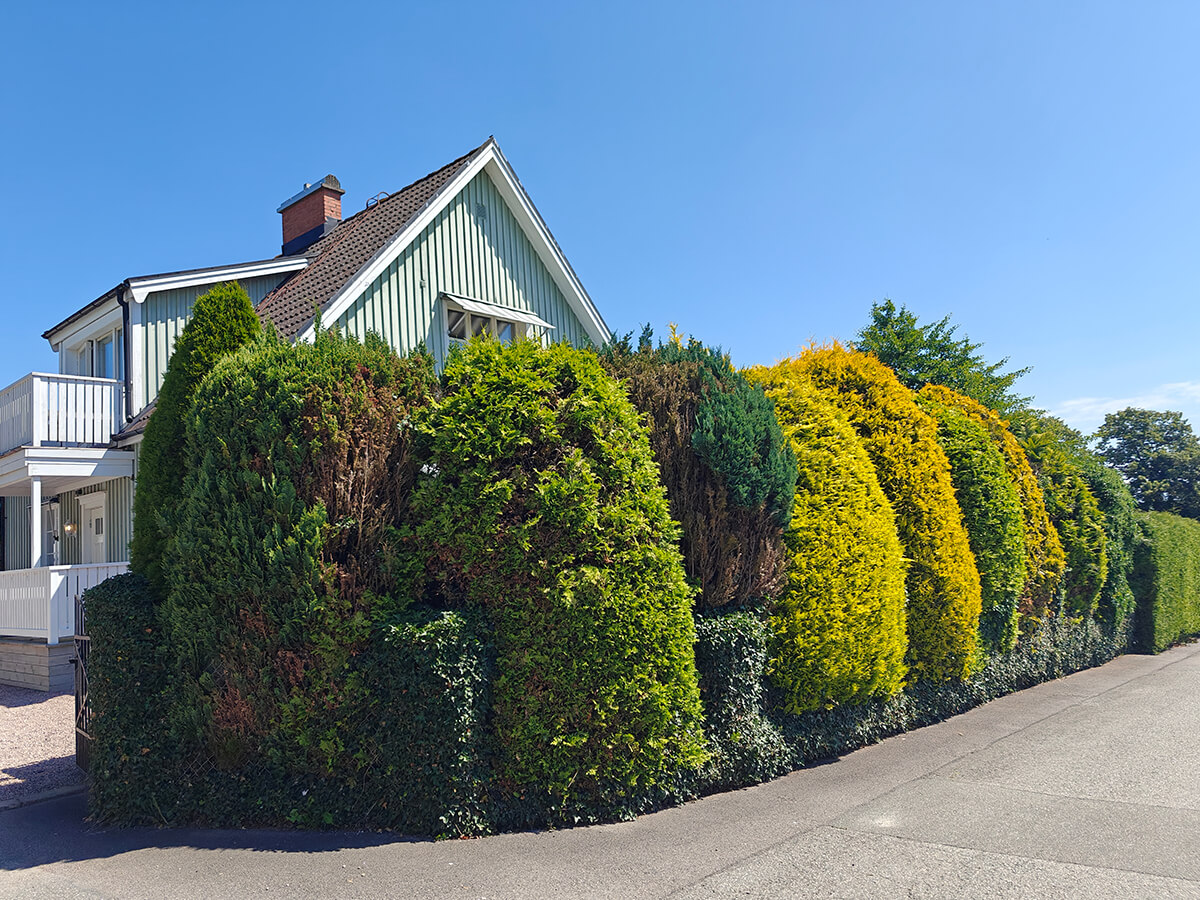
For many homeowners, a hedge is just a living boundary that maintains the property’s borders, like a fence that takes less effort to maintain. However, that hedgerow does more than make a boundary (or barrier) against the outside world; it also filters noise, blocks wind, and helps turn the home into a more private retreat from the rest of the neighbourhood. Whatever the exact species you’ve planted, your hedges do require some consistent maintenance to remain vibrant and functional. Neglecting a hedge can lead to sparse growth, woody interiors, and a susceptibility to harsh seasonal shifts through the year. However, with a structured care routine in place, you can ensure that your hedges stay flourishing assets to your outdoor space for decades.
Here are some steps you can take to give your hedges just a little TLC.
1. Choose Species Suited to Your Specific Hardiness Zone
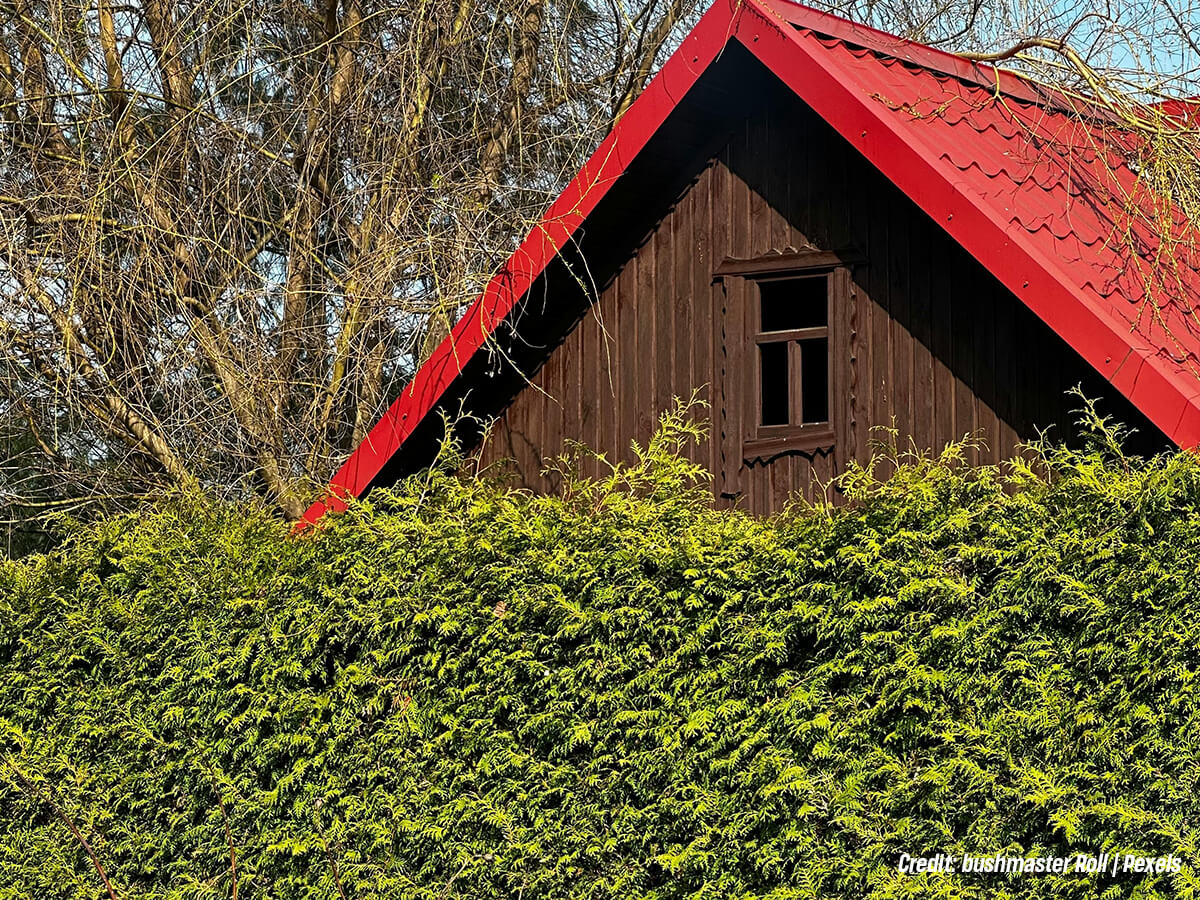
A healthy hedgerow starts long before you ever take a pair of shears to any branches. Much of your success with your plants at home depends on selecting species that naturally thrive in the specific climate of your region. In Canada, this means looking for varieties that can withstand temperatures well below freezing that can also tolerate the hot summer months. Native hedge species are typically ideal choices; these are already adapted to local soil conditions and precipitation levels. For instance, the Emerald Cedar is a popular choice for its narrow growth habit and rich colour, though it does require consistent moisture to keep healthy. Alternatively, the Caragana or Siberian Peatree offers extreme hardiness for those in windier, colder prairie environments. Take the time to study your soil and climate conditions, and find a native species that matches those conditions. Before planting, also take care that the chosen species matches the sunlight exposure of the site, as a shade-loving plant will struggle in a south-facing garden with no protection.
2. Implement Proper Planting Techniques and Spacing
Like any plant, a healthy hedge requires adequate space to breathe and expand. One of the most common errors the inexperienced planter makes in an attempt to achieve instant privacy is planting specimens too close together. This actually overcrowds the plants, which can then lead to competition for nutrients and water. Very often, the result of this overcrowding is that the lower branches die off due to a lack of light.
For a standard cedar hedge, spacing of approximately 60 to 90 centimetres between each plant is ideal to allow for full development. When digging the trench, take care that the space dug is at least twice the width of the root ball to encourage outward root growth. Incorporate organic matter into the backfill as well (this provides the hedge with nutrients to encourage growth). Proper depth is another crucial factor; keep the very top of the root ball level with the surrounding soil surface. This ideal height helps prevent stem rot (from planting too deep) as well as dried-out roots (from planting too shallow).
3. Establish a Consistent Deep-Watering Schedule
Watering is the most critical factor in the survival of any plant, hedges included. This is especially essential during the first three years of establishment. Unlike turfgrass, which has shallow roots, hedges require deep hydration that reaches deep into the soil. During the peak of summer, a slow-release system such as a soaker hose is highly effective for delivering sufficient water to the roots. This method delivers water directly to the root zone and minimizes evaporation. Aim to provide enough water so that the soil feels moist but not saturated. Over-watering can be just as detrimental as drought, as it displaces oxygen in the soil and leads to root decay. In the autumn, it is essential to continue watering until the ground freezes. This ensures that evergreen hedges have enough internal moisture to withstand the drying winds of winter, a process known as desiccation.
4. Prune for Shape and Structural Integrity
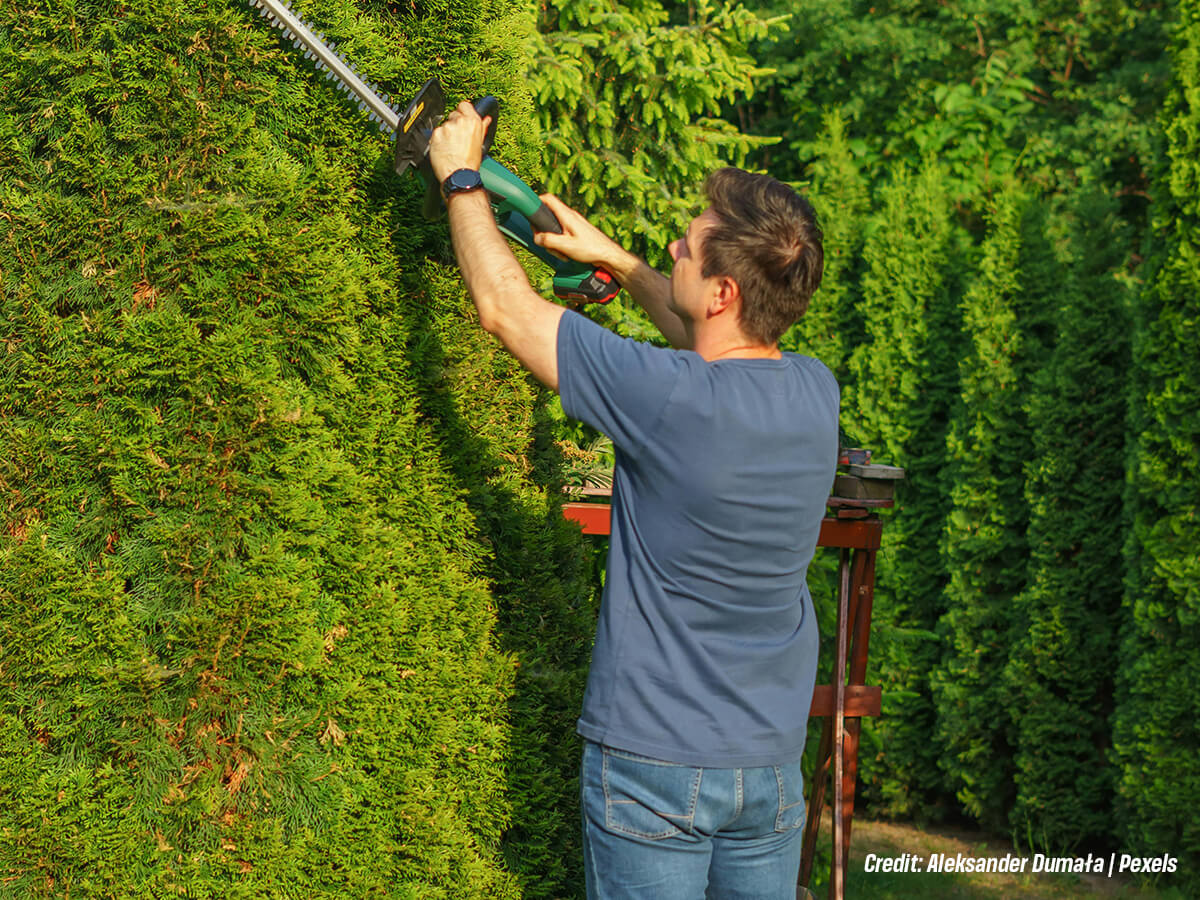
Pruning is both a functional necessity and an opportunity to define the aesthetic of your garden; that said, knowing how to prune them properly (and what signs indicate your trees even need pruning). To keep a living fence healthy, the shape should always be wider at the base than at the top. This tapered profile ensures that adequate sunlight can reach the bottom branches, preventing the hedge from becoming “leggy” or bare at the ground level. For most deciduous hedges, pruning is a job for late winter or early spring before new growth begins. For evergreens, the best time is usually late June or early July once the initial spring growth has hardened off. Avoid cutting into the old wood of cedars, as they rarely sprout from dormant buds on the interior of the plant. Regular light trimming encourages a denser outer shell, which provides better privacy and a more formal appearance.
5. Monitor and Manage Soil Health and Fertilization
The soil acts as the reservoir for everything your hedge needs to grow. Over time, the plants will deplete the local nutrients, making supplemental fertilization necessary. A slow-release, nitrogen-rich fertilizer is often preferred in the early spring to support the flush of new foliage. For ideal effect, apply these nutrients around the base of the plants, extending out to the drip line where the active roots are located. In addition to commercial products, top-dressing the soil with a layer of well-rotted compost each year can improve soil structure and introduce beneficial microorganisms. This practice helps sandy soils retain more moisture and helps break up heavy clay soils, allowing for better drainage and root penetration.
6. Utilize Mulching for Moisture Retention and Weed Control
A thick layer of organic mulch is one of the most effective tools for hedge maintenance; however, it is vital you understand some basic mulching guidelines to ensure you’re doing the job correctly. Applying 5 to 10 centimetres of wood chips, shredded bark, or leaf mould around the base of the living fence offers several benefits for plants. The mulch acts as an insulating blanket, keeping the roots cool in the summer and protecting them from rapid temperature fluctuations in the winter. It also significantly reduces the germination of weeds that would otherwise compete with the hedge for resources. When applying mulch, leave a small gap of a few centimetres around the actual trunks of the plants. This prevents moisture from being trapped against the bark, which could lead to fungal issues or provide a hiding spot for small rodents that might gnaw on the wood.
7. Inspect Regularly for Pests and Pathogens
A proactive approach to health monitoring can prevent a small issue from becoming a total loss. Throughout the growing season, take time to inspect the interior of the hedge for signs of distress. Look for discoloured needles, premature leaf drop, or unusual webbing. Common pests like spider mites or scale insects can be managed more easily if caught early. Similarly, fungal diseases often manifest as spots on leaves or a white, powdery coating. Improving air circulation through proper pruning is one of the most effective steps to take against these issues. If a problem is identified, focus on physical removal or the use of targeted, low-impact solutions that avoid harming the beneficial insects in your garden. A healthy, well-watered hedge is naturally more resistant to infestations than one that is stressed.
8. Provide Protection Against Harsh Winter Elements
Winter typically presents unique challenges for living fences, particularly those located near roads or driveways. Aside from any post-storm tree assessments you may have to make, it’s also vital you know how to care for trees during ordinary days (even ordinary winter days can take their toll on your plants) Road salt used for de-icing can cause significant damage to the foliage and soil chemistry. If your hedge is in a high-exposure area, consider installing a temporary burlap screen in the late autumn. This barrier protects the plants from salt spray and prevents the sun and wind from drawing moisture out of the needles while the roots are frozen. Additionally, heavy snow loads can bend and break branches, which can then permanently disfigure the plant. For multi-stemmed evergreens, loosely wrapping the plants with twine can help them shed snow and maintain their upright form. Once spring arrives, gently hose down the foliage to wash away any residual salt before the new growth begins.
With a little help from these maintenance techniques, your living fence will transform from a simple row of plants into a more robust and useful element of your home’s landscape. Taken together, all these steps create a resilient boundary that also enhances the local environment. A healthy hedge isn’t just a barrier to make your home more private, it’s also a contributor to the biodiversity of your garden, offering shelter for local birds and beneficial insects. By dedicating time to the care of your hedges, you ensure they remain a vibrant, green testament to your commitment to a well-tended outdoor space. Take the time to care for your hedge, and it can pay you back in the form of a lush, healthy fence that stands strong against even the harshest weather.
Ready to enhance your landscape? Dave Lund Tree Service provides professional tree care, including pruning, removal, and maintenance. We’re only too happy to help you keep your trees beautiful and healthy, all in the name of keeping your home appealing and comfortable. Call us now at (905) 884-0511 when you need a reliable tree service contractor.